---
title: CentOS在线安装pg、postgis、geoserver
date: 2022-06-06
author: ac
tags:
- pg
- postgis
- geoserver
categories:
- Database
---
## CentOS在线安装pg、postgis、geoserver
### 1.查看环境
```shell
[root@localhost ~]# uname -r
3.10.0-1160.el7.x86_64
[root@localhost ~]# cat /etc/os-release
NAME="CentOS Linux"
VERSION="7 (Core)"
ID="centos"
ID_LIKE="rhel fedora"
VERSION_ID="7"
PRETTY_NAME="CentOS Linux 7 (Core)"
ANSI_COLOR="0;31"
CPE_NAME="cpe:/o:centos:centos:7"
HOME_URL="https://www.centos.org/"
BUG_REPORT_URL="https://bugs.centos.org/"
CENTOS_MANTISBT_PROJECT="CentOS-7"
CENTOS_MANTISBT_PROJECT_VERSION="7"
REDHAT_SUPPORT_PRODUCT="centos"
REDHAT_SUPPORT_PRODUCT_VERSION="7"
```
### 2.安装PostgreSQL
> 官方教程:https://www.postgresql.org/download/linux/redhat/
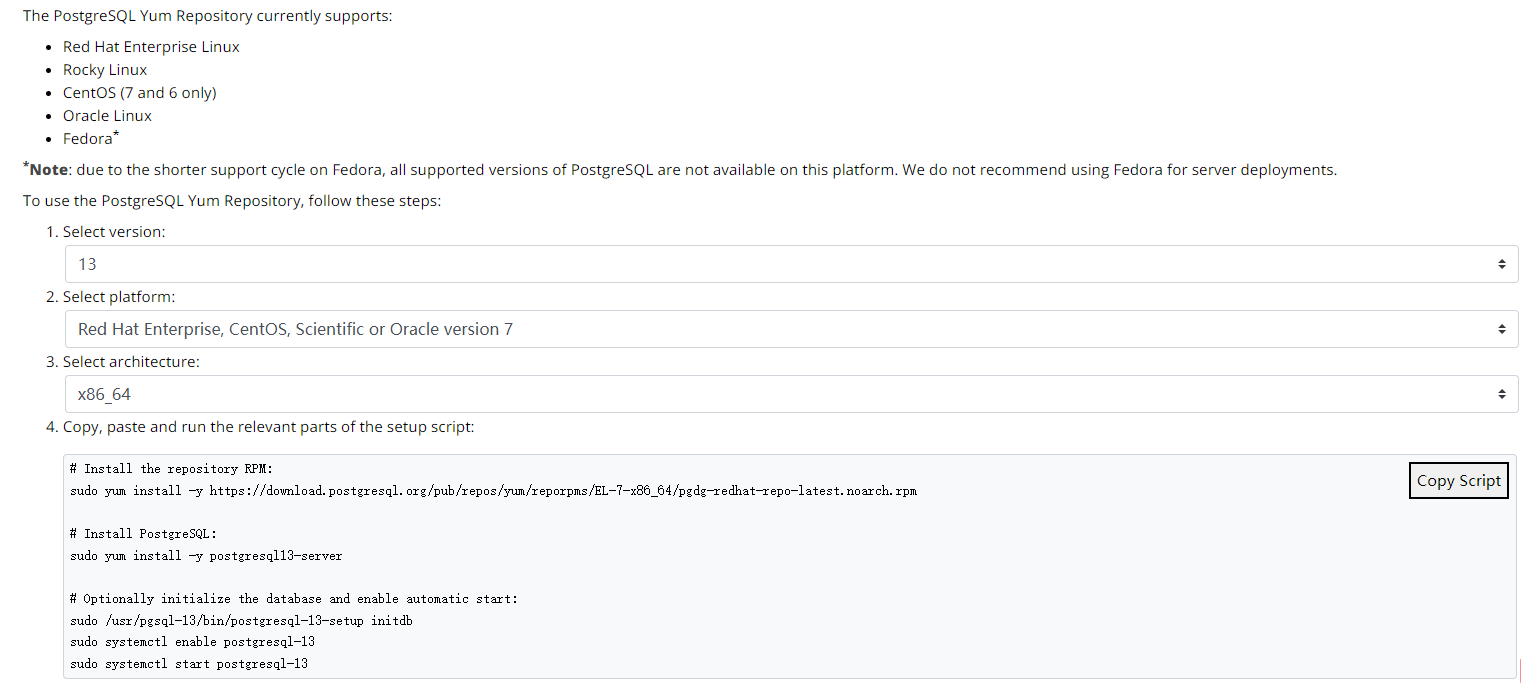
```shell
# Install the repository RPM:
sudo yum install -y https://download.postgresql.org/pub/repos/yum/reporpms/EL-7-x86_64/pgdg-redhat-repo-latest.noarch.rpm
# Install PostgreSQL:安装pg的服务端
sudo yum install -y postgresql13-server
# Optionally initialize the database and enable automatic start:初始化pg和设置自动启动
sudo /usr/pgsql-13/bin/postgresql-13-setup initdb
sudo systemctl enable postgresql-13
sudo systemctl start postgresql-13
```
卸载命令:`yum remove postgresql13*`
#### 2.1创建用户和数据库
> PostgresSQL安装后会自动创建postgres用户,无密码
```shell
[root@localhost data]# su postgres
bash-4.2$ psql
psql (13.8)
Type "help" for help.
postgres=# create user test_user with password 'AuguritIot@2022';
CREATE ROLE
postgres=# create database test owner test_user;
CREATE DATABASE
postgres=# grant all privileges on database test to test_user;
GRANT
#\q可退出psql
#exit可退出bash命令行
```
#### 2.2.配置连接
> 安装完pg之后,默认是只接受本地访问连接。
如果想在其他主机上访问PostgreSQL数据库服务器,需要配置**pg_hba.conf**和**postgresql.conf**文件,以允许客户端连接。
- **pg_hba.conf:**配置对数据库的访问权限;(默认路径在/var/lib/pgsql/13/data)
- **postgresql.conf:**配置PostgreSQL数据库服务器的相应的参数。(默认路径在/var/lib/pgsql/13/data)
1、取消**listen_address**的注释
```shell
#找到postgresql.conf
[root@localhost data]# vi postgresql.conf
# - Connection Settings -
listen_addresses = '*' # what IP address(es) to listen on;
# comma-separated list of addresses;
# defaults to 'localhost'; use '*' for all
# (change requires restart)
port = 5432 # (change requires restart)
max_connections = 100 # (change requires restart)
#superuser_reserved_connections = 3 # (change requires restart)
#unix_socket_directories = '/var/run/postgresql, /tmp' # comma-separated list of directories
# (change requires restart)
#unix_socket_group = '' # (change requires restart)
#unix_socket_permissions = 0777 # begin with 0 to use octal notation
# (change requires restart)
#bonjour = off # advertise server via Bonjour
# (change requires restart)
-- INSERT --
#Esc ,保存退出
:wq
```
2、增加
所有IP都是使用密码登录:host all all 0.0.0.0/0 md5
```shell
# TYPE DATABASE USER ADDRESS METHOD
# "local" is for Unix domain socket connections only
local all all peer
# IPv4 local connections:
host all all 127.0.0.1/32 scram-sha-256
host all all 0.0.0.0/0 md5
# IPv6 local connections:
host all all ::1/128 scram-sha-256
# Allow replication connections from localhost, by a user with the
# replication privilege.
local replication all peer
host replication all 127.0.0.1/32 scram-sha-256
host replication all ::1/128 scram-sha-256
```
3、重启pg
```shell
systemctl restart postgresql-13.service
```
4、暴露端口号
```shell
# 查看防火墙状态
systemctl status firewalld
# 暴露5432端口 firewall-cmd --zone=public --add-port=3690/tcp --permanent
[root@localhost data]# firewall-cmd --zone=public --add-port=5432/tcp --permanent
success
# 重新启动防火墙
[root@localhost data]# firewall-cmd --reload
success
# 检查是否生效
[root@localhost data]# firewall-cmd --zone=public --query-port=5432/tcp
yes
```
```shell
# 查看防火墙开放的所有端口
firewall-cmd --list-ports
# 查看进程
ps -ef|grep svn
# 查看进程端口
netstat -lntup
```
### 3安装PostGIS
> 官方教程:https://postgis.net/install/
1、安装postgis的依赖包
```shell
[root@localhost conf]# rpm -ivh https://mirrors.aliyun.com/epel/epel-release-latest-7.noarch.rpm
```
2、安装postgis
```shell
yum install postgis31_13.x86_64
```
> 这里的`31_13`是(**postgis_v**)_(**pg_v**),版本对应关系。
```shell
# 查看版本
[root@localhost /]# yum search postgis31
Loaded plugins: fastestmirror, langpacks
Loading mirror speeds from cached hostfile
* base: mirrors.ustc.edu.cn
* centos-sclo-rh: mirrors.aliyun.com
* centos-sclo-sclo: mirrors.aliyun.com
* epel: hkg.mirror.rackspace.com
* extras: mirrors.aliyun.com
* updates: mirrors.aliyun.com
============================================================================== N/S matched: postgis31 ==============================================================================
postgis31_10.x86_64 : Geographic Information Systems Extensions to PostgreSQL
postgis31_10-client.x86_64 : Client tools and their libraries of PostGIS
postgis31_10-devel.x86_64 : Development headers and libraries for PostGIS
postgis31_10-docs.x86_64 : Extra documentation for PostGIS
postgis31_10-gui.x86_64 : GUI for PostGIS
postgis31_10-utils.x86_64 : The utils for PostGIS
postgis31_11.x86_64 : Geographic Information Systems Extensions to PostgreSQL
postgis31_11-client.x86_64 : Client tools and their libraries of PostGIS
postgis31_11-devel.x86_64 : Development headers and libraries for PostGIS
postgis31_11-docs.x86_64 : Extra documentation for PostGIS
postgis31_11-gui.x86_64 : GUI for PostGIS
postgis31_11-utils.x86_64 : The utils for PostGIS
postgis31_12.x86_64 : Geographic Information Systems Extensions to PostgreSQL
postgis31_12-client.x86_64 : Client tools and their libraries of PostGIS
postgis31_12-devel.x86_64 : Development headers and libraries for PostGIS
postgis31_12-docs.x86_64 : Extra documentation for PostGIS
postgis31_12-gui.x86_64 : GUI for PostGIS
postgis31_12-utils.x86_64 : The utils for PostGIS
postgis31_13.x86_64 : Geographic Information Systems Extensions to PostgreSQL
postgis31_13-client.x86_64 : Client tools and their libraries of PostGIS
postgis31_13-devel.x86_64 : Development headers and libraries for PostGIS
postgis31_13-docs.x86_64 : Extra documentation for PostGIS
postgis31_13-gui.x86_64 : GUI for PostGIS
postgis31_13-utils.x86_64 : The utils for PostGIS
postgis31_14.x86_64 : Geographic Information Systems Extensions to PostgreSQL
postgis31_14-client.x86_64 : Client tools and their libraries of PostGIS
postgis31_14-devel.x86_64 : Development headers and libraries for PostGIS
postgis31_14-docs.x86_64 : Extra documentation for PostGIS
postgis31_14-gui.x86_64 : GUI for PostGIS
postgis31_14-utils.x86_64 : The utils for PostGIS
Name and summary matches only, use "search all" for everything.
```
[这里](https://trac.osgeo.org/postgis/wiki/UsersWikiPostgreSQLPostGIS)可以查看postgis与pg版本支持的对应关系。
3、在指定的数据库(`test`)中启用postgis空间扩展:
```shell
[root@localhost pgsql]# su postgres
bash-4.2$ psql -d test
psql (13.8)
Type "help" for help.
test=# create extension postgis;
CREATE EXTENSION
test=# select postgis_version();
postgis_version
---------------------------------------
3.1 USE_GEOS=1 USE_PROJ=1 USE_STATS=1
(1 row)
test=#
test=# \q
bash-4.2$ exit
exit
```
下面的语句是官网给出的PostGIS可安装的扩展命令:
```sql
-- Enable PostGIS (as of 3.0 contains just geometry/geography)
CREATE EXTENSION postgis;
-- enable raster support (for 3+)
CREATE EXTENSION postgis_raster;
-- Enable Topology
CREATE EXTENSION postgis_topology;
-- Enable PostGIS Advanced 3D
-- and other geoprocessing algorithms
-- sfcgal not available with all distributions
CREATE EXTENSION postgis_sfcgal;
-- fuzzy matching needed for Tiger
CREATE EXTENSION fuzzystrmatch;
-- rule based standardizer
CREATE EXTENSION address_standardizer;
-- example rule data set
CREATE EXTENSION address_standardizer_data_us;
-- Enable US Tiger Geocoder
CREATE EXTENSION postgis_tiger_geocoder;
```
### 4.GeoServer
#### 4.1 查看是否有jre
```shell
[root@localhost data]# java -version
java version "1.8.0_291"
Java(TM) SE Runtime Environment (build 1.8.0_291-b10)
Java HotSpot(TM) 64-Bit Server VM (build 25.291-b10, mixed mode)
```
#### 4.2 安装Tomcat
> 这里采用war包的形式部署GeoServer
1、下载、解压Tomcat。查看tomcat资源:https://tomcat.apache.org/download-90.cgi
```shell
[root@localhost Downloads]# wget https://dlcdn.apache.org/tomcat/tomcat-9/v9.0.68/bin/apache-tomcat-9.0.68.tar.gz
[root@localhost Downloads]# tar xvf apache-tomcat-9.0.68.tar.gz -C /usr/local/
[root@localhost Downloads]# mv /usr/local/apache-tomcat-9.0.68/ /usr/local/tomcat/
```
2、修改tomcat配置
```shell
#查看全局中是否有配置JAVA_HOME变量,找到Java的路径
[root@localhost bin]# cat /etc/profile
...
export JAVA_HOME=/newData/installPackage/jdk1.8.0_291
...
```
配置tomcat的方式有很多:
- 在全局的/etc/profile中添加`TOMCAT_HOME`、`CATALINA_HOME`、`CLASS_PATH`,网上示例:
```shell
export JAVA_HOME=/usr/local/java
export TOMCAT_HOME=/usr/local/tomcat
export CATALINA_HOME=/usr/local/tomcat
export CLASS_PATH=$JAVA_HOME/bin/lib:$JAVA_HOME/jre/lib:$JAVA_HOME/lib/tool.jar
export PATH=$PATH:/usr/local/java/bin:/usr/local/tomcat/bin
```
- 在`catalina.sh`文件和`setclasspath.sh`文件添加Java的路径
```shell
#修改setclasspath.sh
vi /usr/local/tomcat/bin/setclasspath.sh
#增加如下配置:
export JAVA_HOME=/newData/installPackage/jdk1.8.0_291
#修改catalina.sh
vi /usr/local/tomcat/bin/catalina.sh
#增加如下配置:
export JAVA_HOME=/newData/installPackage/jdk1.8.0_291
```
3、修改端口
```shell
[root@localhost bin]# vi /usr/local/tomcat/conf/server.xml
#端口修改
...
...
:wq
```
```shell
# 暴露端口
[root@localhost bin]# firewall-cmd --add-port=8088/tcp --permanent
# 重新加载防火墙规则
[root@localhost bin]# firewall-cmd --reload
```
4、启动/停止
```shell
[root@localhost bin]# cd /usr/local/tomcat/bin && sh startup.sh
[root@localhost bin]# cd /usr/local/tomcat/bin && sh shutdown.sh
```
5、设置开机启动
配置Tomcat开机启动很简单,将Tomcat配置为系统服务即可。
- 配置tomcat9.service:
```shell
#创建Tomcat9服务文件
vi /usr/lib/systemd/system/tomcat9.service
#tomcat9.service文件内容:
[Unit]
Description=Tomcat9
After=syslog.target network.target remote-fs.target nss-lookup.target
[Service]
Type=forking
ExecStart=/usr/local/tomcat/bin/startup.sh
ExecReload=/usr/local/tomcat/bin/startup.sh
ExecStop=/usr/local/tomcat/bin/shutdown.sh
[Install]
WantedBy=multi-user.target
```
- 配置开机启动:
```shell
#设置Tomcat9开机启动
systemctl enable tomcat9
#启动tomcat9服务
systemctl start tomcat9
```
#### 4.3 部署geoserver.war包
```shell
#下载
[root@localhost webapps]# pwd
/usr/local/tomcat/webapps
[root@localhost webapps]# wget https://sourceforge.net/projects/geoserver/files/GeoServer/2.21.2/geoserver-2.21.2-war.zip
```
下载失败!
本地下载完后用`scp`命令上传到服务器。
- 用lrzsz上传,lrzsz是一款程序,在linux中可以代替ftp的上传和下载
- 用WinSCP工具,将war包上传webapp目录下
重新启动一下tomcat
### 补充
**Tomcat配置跨域**
1. 引用跨域报 `cors-filter.jar`、`java-property-utils.jar`
2. 修改Tomcat的配置文件`config\web.xml`,在根节点追加:
```xml
CORS
com.thetransactioncompany.cors.CORSFilter
CORS
/*
```
3. 重启Tomcat